You can interactively route with Electra using AutoTRAX DEX.
This video show you how you can easily auto-route a PCB using DEX and Electra. In particular it shows you an example of restricting routing of a net to a specific layer.
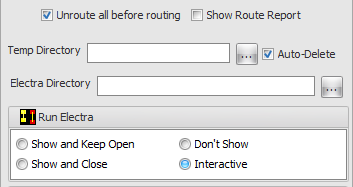
To use Electra interactively check  in Run Electra
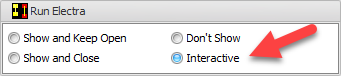
at the top of the Electra Router Settings
Next click on the  button in the PCB->Route menu.
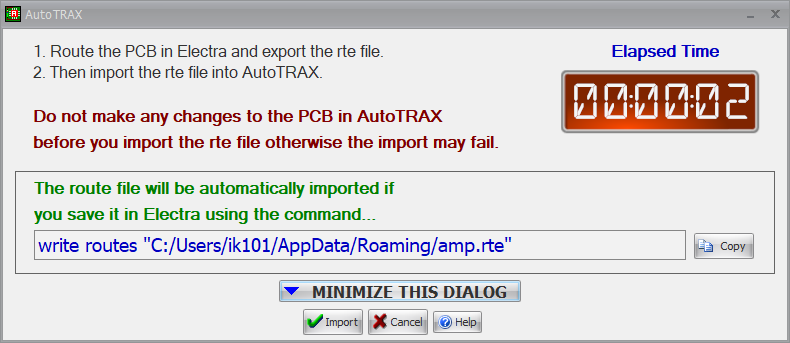
The main AutoTRAX DEX window will disappear and you will see the dialog below and Electra will start.
Do whatever you feel you need to do in Electra to route your PCB, see below.
You can click  to minimize the above dialog.
You can also close it and even close AutoTRAX DEX as so long as you have saved the project you can import the Electra route file.
Click  to copy the write routes command to the clipboard so you can paste it into the Electra command: window to export the Electra route file. As soon as you save the route file, the above dialog will automatically disappear and AutoTRAX DEX main window will appear with the routed tracks.
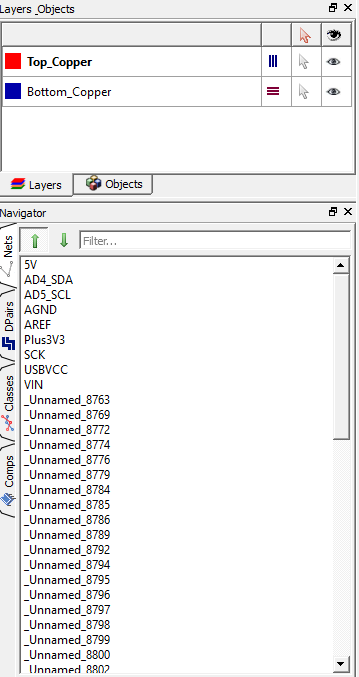
Inside Electra
In Electra you will see AutoTRAX DEX layers and named nets as shown below
.
After routing/editing your PCB in Electra you need to save your route file using the Electra File menu.
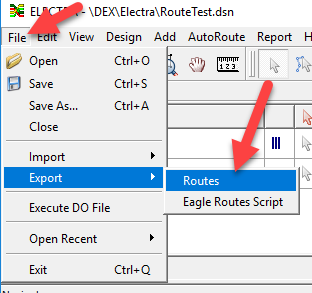
As soon as you save the route file, the above dialog will automatically disappear and AutoTRAX DEX main window will appear with the routed tracks. If you export as a different name click on the  in the above dialog to import the route information into AutoTRAX DEX.