To edit a line first select it.
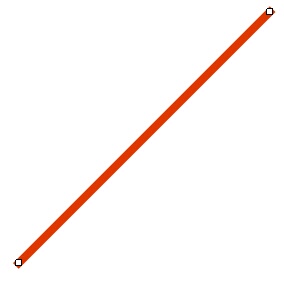
When a line is selected you will see 2 manipulator points, one at the start of the end and another at the end of the line.

A selected line showing the manipulator points at both ends
Click and hold either point and drag it to set the start or end of the line. If snap is enabled then the end points of the line will snap to the grid as the ends are moved.
To move a line keeping its angle to the horizontal constant, left-click anywhere on the line other than on either of the end manipulators and drag the line to its new position. If snap is enabled then the line will move in steps as defined by the grid; in this case the end points may not snap to the grid. To snap the end points to the grid, drag the end points individually.
As you drag the end points they may snap to other objects if snap to objects is enabled.
If you have any point, horizontal or vertical guides on your schematic or PCB and snap to guides is enabled, then the end points will snap to them if they are close enough.
You can set the color of the line by either left or right-clicking on a color button in the color bar at the base of the application viewports.
You can also set the lines parameters using its properties panel.