The Parts Catalog is a collection of over 47,000 parts that you can use in your designs by simply dragging the part from the Add Parts Dialog onto any of your schematics.
 All parts come complete with symbols, footprint/land pattern and 3D model.
 | Adding Parts from the Parts Catalog |
| To display the Add Parts Dialog: •Click the •Click the 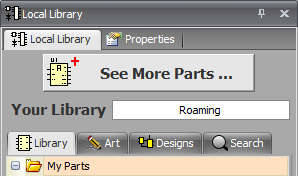 The Add Parts Dialog box is shown below. The Library Panel . 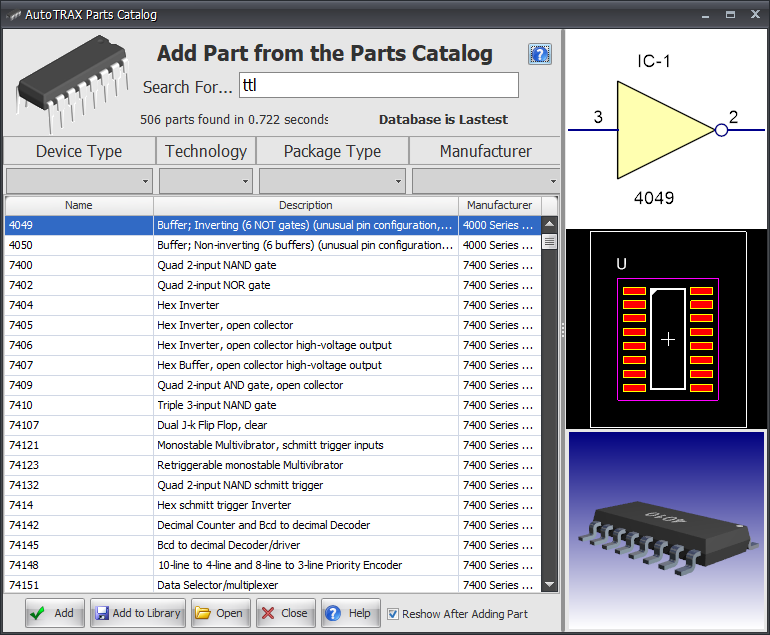 The Add Parts Dialog 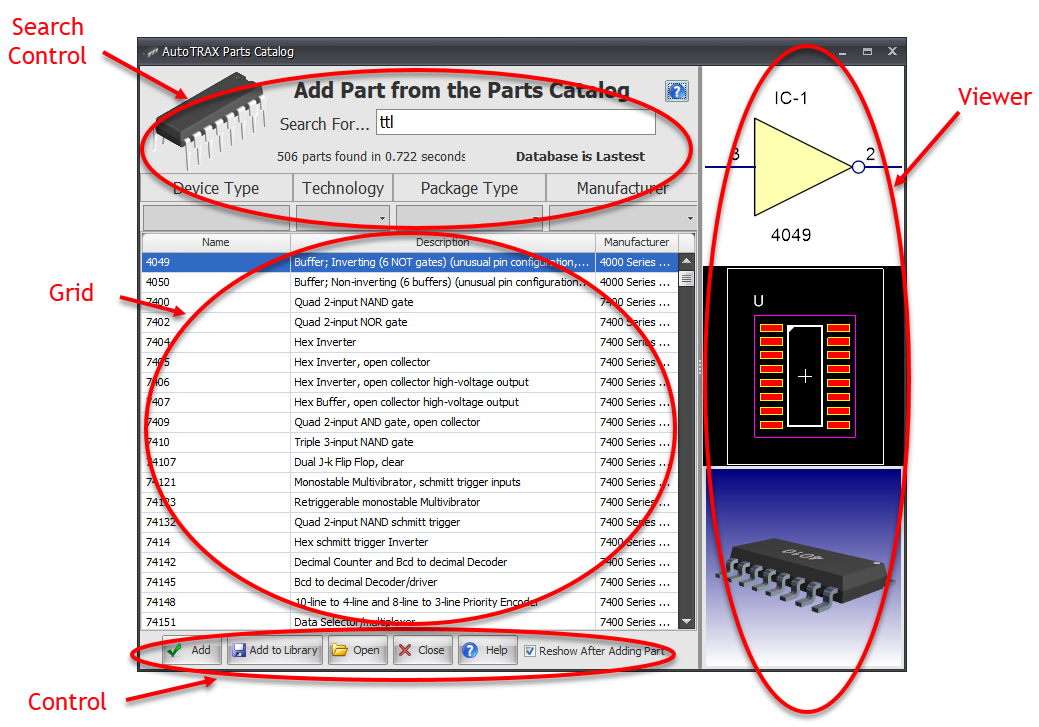 The Add Parts Dialog Details
|
 button in the Parts->Library ribbon menu or
 button in the Library Panel
| AutoTRAX DEX automatically checks for a update to the Parts Catalog and will automatically download it. The update is done in the background. You need to be connected to the Internet for the check and download to work. |
| You can manually download the Parts Catalog setup program here. https://dexpcb.com/Download/Parts |
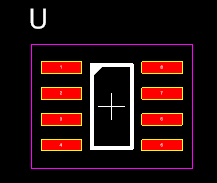
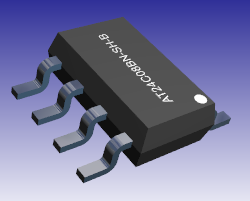
You can preview a part by clicking on a line in the Grid View for the part. 3 views will display:
You can pan/zoom all 3 viewports using the mouse |
The Add Parts Dialog is a modeless dialog that lets you search for parts using one or more keywords and up to 4 filters. You enter the search keywords in the Search For text input box.
 Enter the keywords and separate each one with 1 or more spaces. Each keyword does not have to be a full match for the word you are looking for. The keyword can be a partial match. For instance alleg will match Allego and all other words containing alleg, The case of the keyword does not matter. The search is made in the following parameters for all parts. •Name •Description •Package Type •Device Group •Manufacturer •Technology If you enter 2 or more keywords then each keyword must find a match. For instance searching for alleg dip match all parts with alleg and dip in their details as shown below. 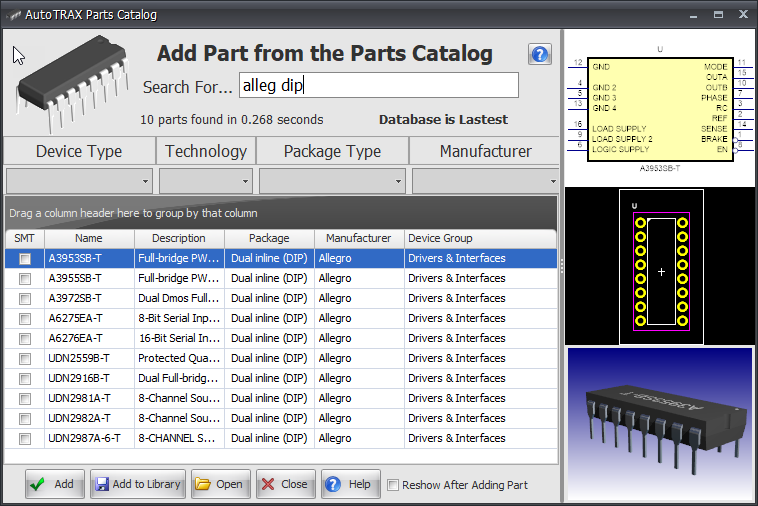 |
| You can filter your search for parts by: •Device Types  •Technology  •Package Type 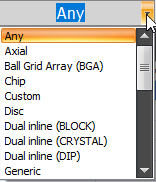 •Manufacturer 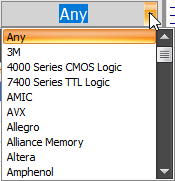 To add any of the above 4 filter types, click on the small down arrow at the right hand side of the box below the title of the filter type. A pop-up list of filters will be displayed: click on one of them and the list of parts found will be updated automatically. You probably will not use the filters as you can use keywords instead. |
All parts found are displayed in the Grid View.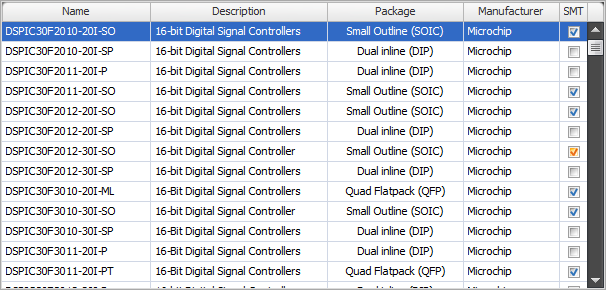 Typical Grid View Click on a row to select a partDrag a column header to the top to group by the column. You can drag more than 1 column 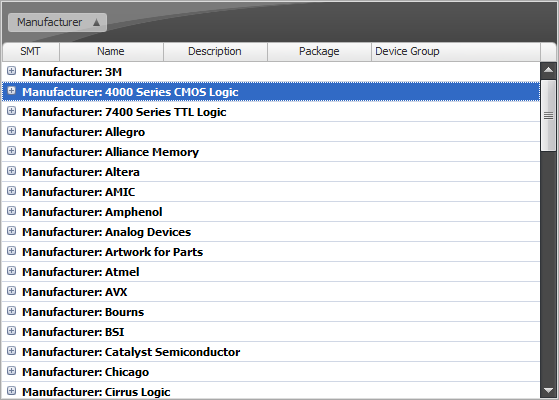 Grouping by Manufacturer 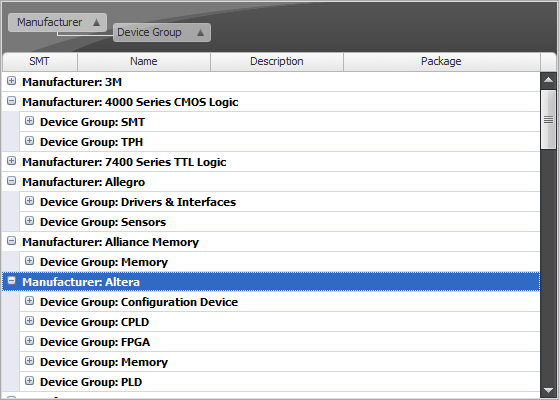 Grouping by Manufacturer Then by Device Group Right click on the column header for Context menu for column options 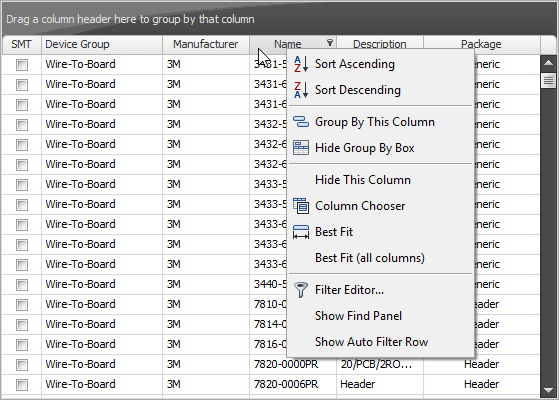 Right Click Context Menu 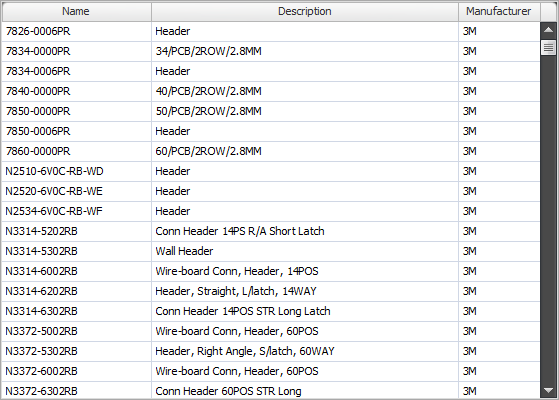 Reordered Columns and Some Columns Hidden Drag a column to reorder columns and/or re-size columns  Columns Reordered and Resized |
You must add the parts to a schematic, not to a PCB or 3D PCB view. In AutoTRAX DEX, schematics are central to designs. PCB are derived from information in schematics together with further input directly to the PCB, such as part placement, layer details, PCB outline and routing. Double Click - recommendedTo add a part to a design using double click : 1.Double click the left mouse button any part of a line describing the part in the Grid View 2.The Add Parts Dialog will be hidden if it obscures the target schematic and you will see the symbol for the part being dragged inside the schematic 3.Click the left mouse button to place the part's symbol. The footprint is automatically added to the PCB 4.If you have Reshow After Adding Part checked, the Add Parts Dialog will appear and you can then add more parts or close the dialog Drag and Drop To add a part to a design using drag and drop: 1. Hold down the left mouse button over any part of a line describing the part in the Grid View and drag the mouse 2.Once drag as started, the Add Parts Dialog will be hidden if it obscures the target schematic and you will see the symbol for the part being dragged inside the schematic 3.Release to left mouse button to place the part's symbol. The footprint is automatically added to the PCB 4.If you have Reshow After Adding Part checked, the Add Parts Dialog will appear and you can then add more parts or close the dialog Click the Add Button To add a part to a design using the add button : 1.Click the 2.The Add Parts Dialog will be hidden if it obscures the target schematic and you will see the symbol for the part being dragged inside the schematic 3.Click the left mouse button to place the part's symbol. The footprint is automatically added to the PCB 4.If you have Reshow After Adding Part checked, the Add Parts Dialog will appear and you can then add more parts or close the dialog
Reshowing the Add Parts Dialog After Adding PartedCheck the |
 button any part of a line describing the part in the Grid View
 check-box to automatically reshow the Add Parts Dialog after a part is added.
 | To add a part to your local library: 1.Select the part by clicking on the Grid View line describing the part 2.Click the 3.You will be then prompted for the file directory to save it to 4.Select the directory 5.Set the part name 1.Click |
 button
| You can edit and part ans save it to any location on your computer or network. 1.Select the part by clicking on the Grid View line describing the part 2.Click the 3.Save the part You cannot save the part back to the Parts Catalog, The Parts Catalog is read only. |
 button to edit the part
Clicking the  button will display this help button will display this help |
| AutoTRAX DEX uses SQLite: •SQLite is a C-language library that implements a small, fast, self-contained, high-reliability, full-featured, SQL database engine. •SQLite is the most used database engine in the world. •SQLite is built into all mobile phones and most computers and comes bundled inside countless other applications that people use every day. The Parts Catalog is contained in a single database file DEXPartsCatalog.db. The database file is located in: C: \Users\XXX\AppData\Roaming\AutoTRAX DEX Software\AutoTRAX DEX where XXX is your Windows user name.
|
