To add a polyline to a graphical sheet click on the  button in the Add→Shapes ribbon menu button group.
To set the Fill Styles and Line Styles before adding polylines use the Default Graphics Settings
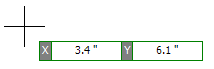
Polyline start point
Left-click when the start cross is where you want to start the polyline or press the Enter key followed by the X value, Enter/Space/Tab key, the Y value, and then Enter/Space/Tab to exactly place the starting point.
Now as you move the mouse, the first segment of the polyline is defined. Left click to define its end point or press the Enter/Space/Tab key followed by the length, Enter/Space/Tab, the angle, and Enter/Space/Tab to exactly define the first segment of the polyline.
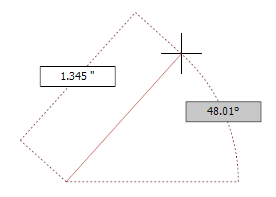
Defining the first segment
Now as you move the mouse, the second segment of the polyline is defined. Left-click to define its end point or press the Enter/Space/Tab key followed by the length, Enter/Space/Tab, the angle, and Enter/Space/Tab to exactly define the second segment of the polyline.
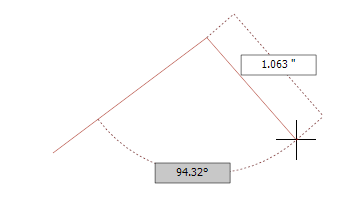
Defining the second segment
Moving the mouse again, the third segment of the polyline is defined. Left-click to define its end point or press theEnter/Space/Tab key followed by the length, Enter/Space/Tab, the angle, and Enter/Space/Tab to exactly define the third segment of the polyline.
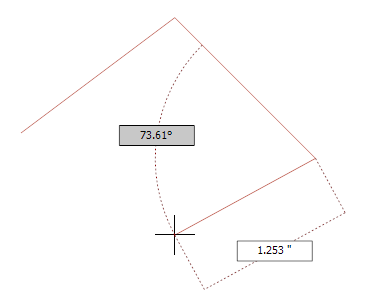
Defining the third segment
Continue this process to add as many line segments as you wish.
Press the ESC key to remove the last vertex added.
Double-click to complete adding the polyline.
To close the polyline move the mouse over or very near the start of the polyline and left-click.