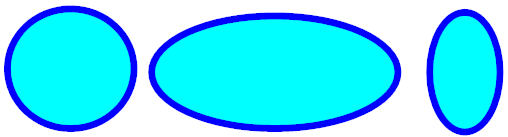
You can add ellipses or circles. A circle is an ellipse with the x and y radii being the same.
To set the Fill Styles and Line Styles before adding ellipses use the Default Graphics Settings
Ellipses/Circles
To add an ellipse to a graphical sheet click on one of the  buttons in the Add→Shapes ribbon menu button group.
 Adds a hollow ellipse.
 Adds a filled ellipse with border.
 Adds a filled ellipse without a border.
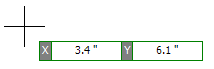
Move the mouse inside the graphical sheet's viewport. You will see the point cross follow the mouse. Left-click when the point cross is where you want to start an ellipse or circle or press the Enter key followed by the X value, Enter/Space/Tab key, the Y value, and then Enter/Space/Tab to exactly place the starting point.
Now as you move the mouse the ellipse will change in size and aspect ratio.
If you hold down the Shift key as you move the mouse, the ellipse will be centered at the first point.
If you hold down the CTRL key as you move the mouse, the ellipse will be circle with width and height the same.
If you hold down both the Shift and CTRL keys simultaneously as you move the mouse, the circle will be centered at the first point as you move the mouse, with the width and the height being the same.
Left-click when the ellipse/circle is the shape you want or press the Enter key followed by the numeric values for the width and height of the ellipse.
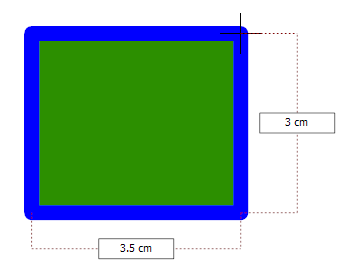
Dragging the mouse defines the ellipses size