Why you should not use copper pour on a single sided PCB made using a CNC cutter...
To create/export to a CNC file click the Tools→Export→ button. The dialog box show below will appear.
AutoTRAX DEX will generate.
1.A top side CNC file named XXXX-Top.nc
2.A bottom side CNC file named XXXX-Bottom.nc
3.A Board profile file named XXXX-Profile.nc
4.A Drilling file named XXXX-Drill.nc
5.Where XXXX is the name you select.
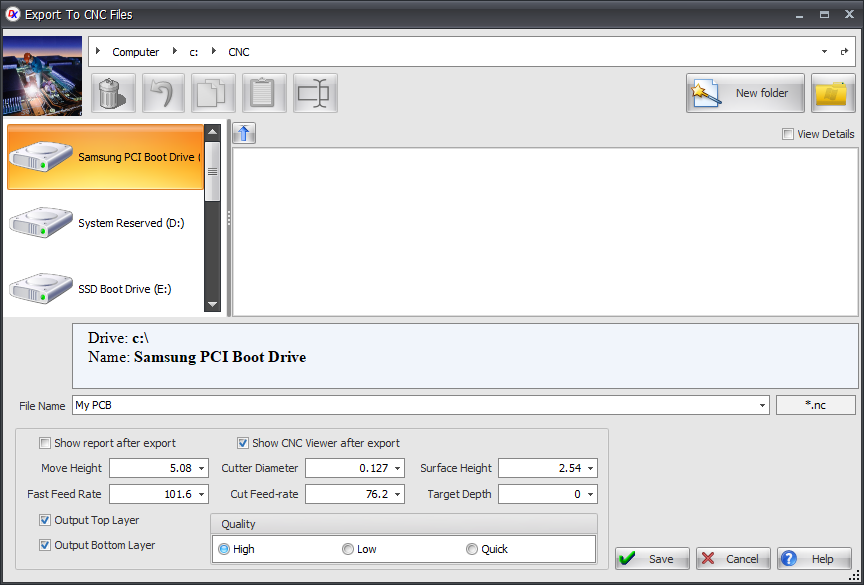
Generate CNC files dialog
 Check to show a report of files generated.
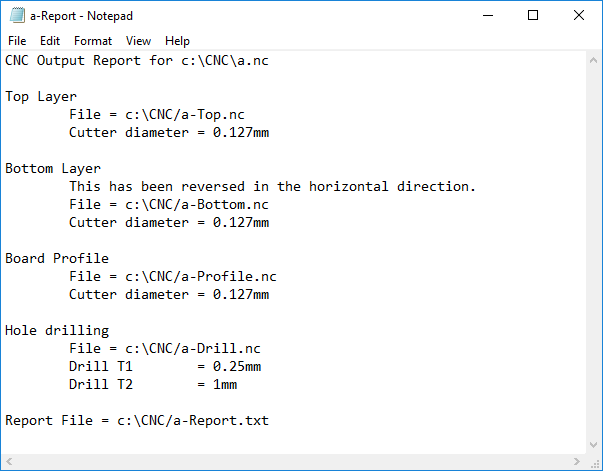
Typical Report File
 Check to show a view of the files generated. See CNC Viewer
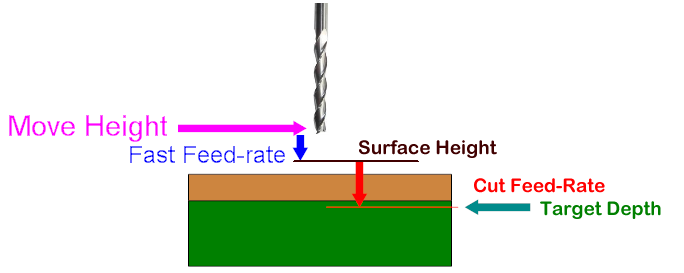
Move Height
This is the vertical (Z) height for movements of the tool when not cutting.
Fast Feed-Rate
Enter the feed rate when the cutter is moving without cutting at the move height.
Cutter Diameter
Enter the diameter for the cutter.
Cut Feed-Rate
Enter the feed rate when the drill is cutting.
Surface Height
This is the vertical (Z) height for below which the feed-rate is given by the cut feed-rate.
Target Depth
This is the vertical (Z) height for the cutter when cutting copper.
Output Top Layer
Check to output the top layer.
Output Bottom Layer
Check to output the bottom layer.
Quality
Select quality.
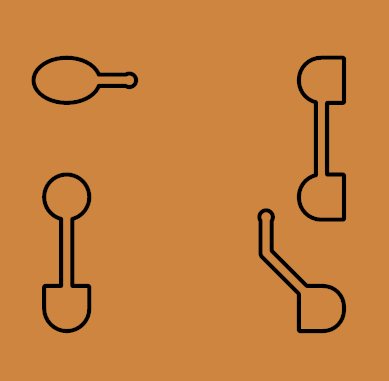
To see the effect of the quality setting consider the following sample PCB...
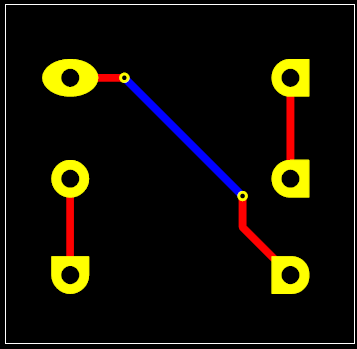
High
The high setting gives you the best quality of CNC cut as shown below.
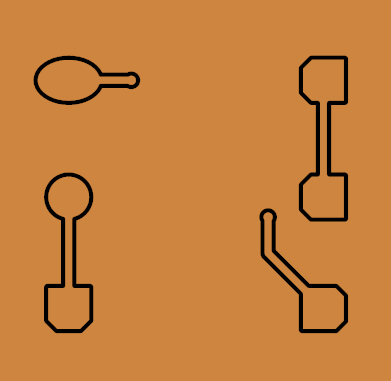
Low
The low setting gives you the best quality of CNC cut as shown below. Note, the rounded corners of the rectangles are replaced by beveled corners. This setting gives you a lot faster production of your CNC files compared to the high setting but is much slower than the Quick setting.
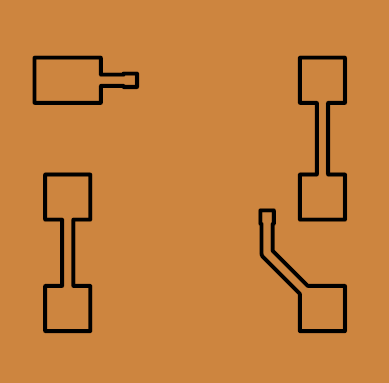
Quick
The quick setting gives you the poorest quality of CNC cut as shown below. Note, elliptical and rounded pad shapes are replaced by rectangular budgets and vias are replaced by rectangles. This will give you the quickest production of your CNC files and is useful for complicated PCBs.
 Click to display this help topic.
Click  to generate the CNC files. You will see 3 progress dialogs like the one shown below; one for the top side and one for the bottom side.
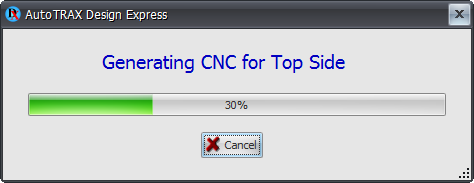
File generation progress dialog.
After the files have been generated you will see the report and/or the CNC Viewer