When using pick and place machines to populate your PCBs you should add assembly rails to the edges of your panel.
The purpose of a frame around the panel is to make sure that if there are any parts that hang over the edges, they have clearance from machinery.
Rails should typically have a width of half an inch or 12.7mm.
In order to save money, you may want just 2 rails instead of 4. In other words you will sometimes want rails on 2 sides instead of rails on all 4 sides.
If you are using only 2 rails then they should be on the long edge of the panel, not the short edge.
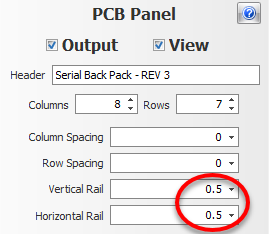
You can add optional assembly rails on:
1.Both the left and right side of the array of PCBs and/or
2.Both the top and bottom side of the PCB array.
Below are some examples of using assembly rails.
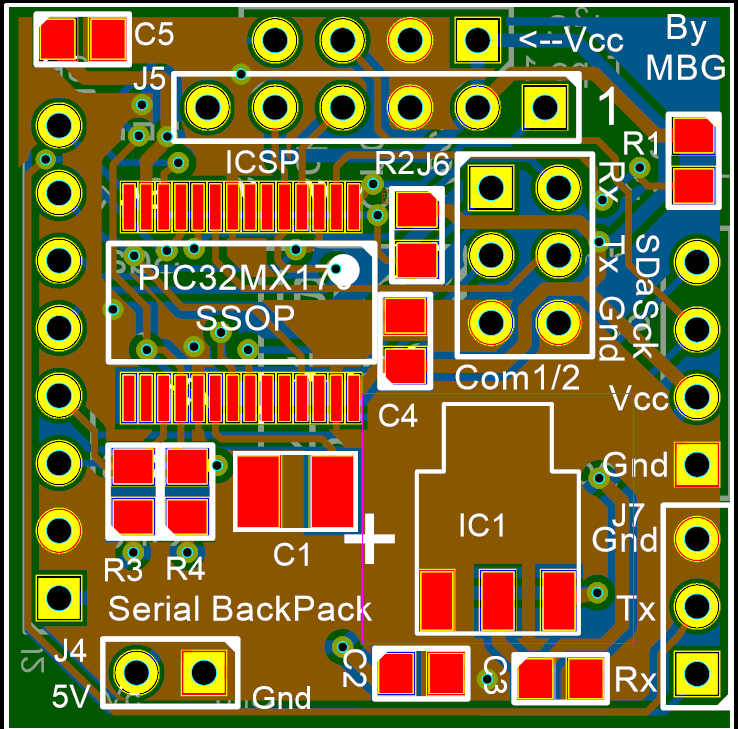
Single Design Before Panelization
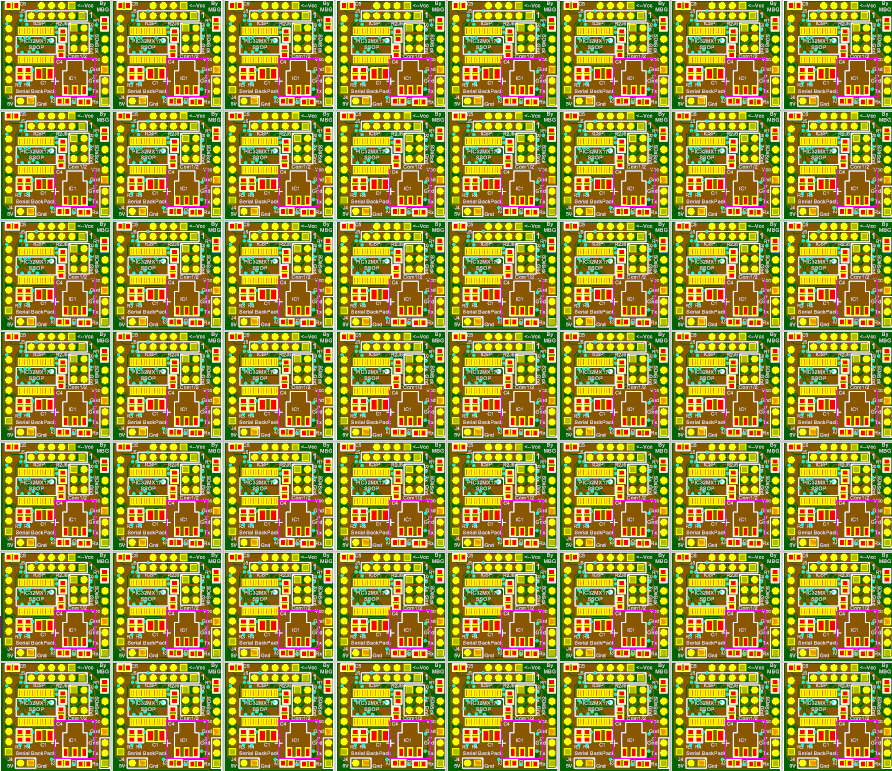
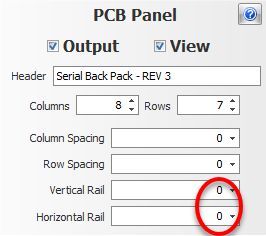
Panel for a PCB arrayed 56 times (8x7) With No Assembly Rails
 |
 |
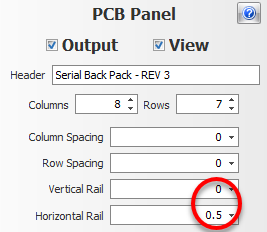
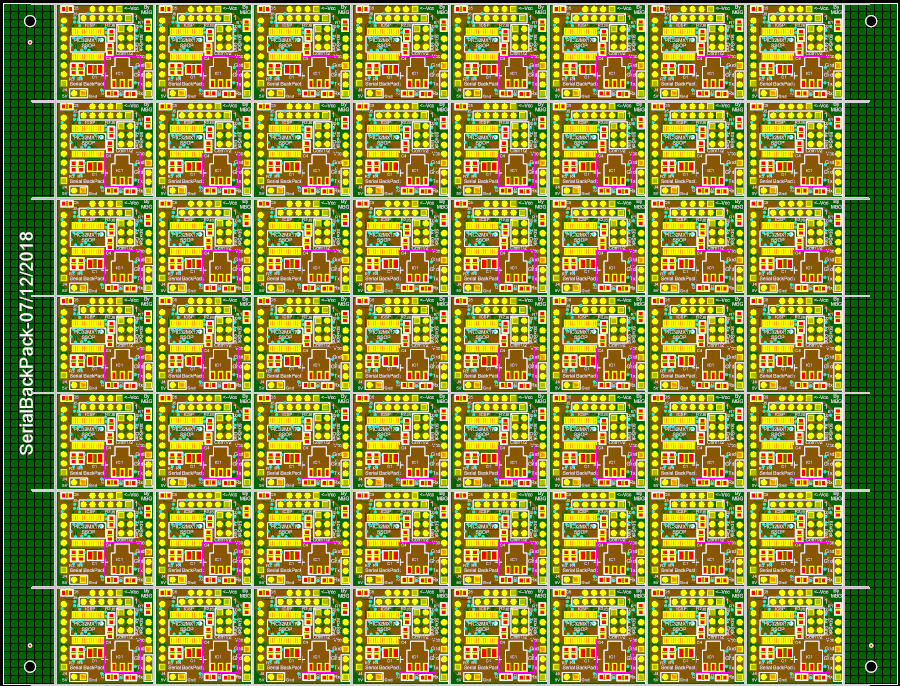
Top and Bottom Assembly Rails
3. 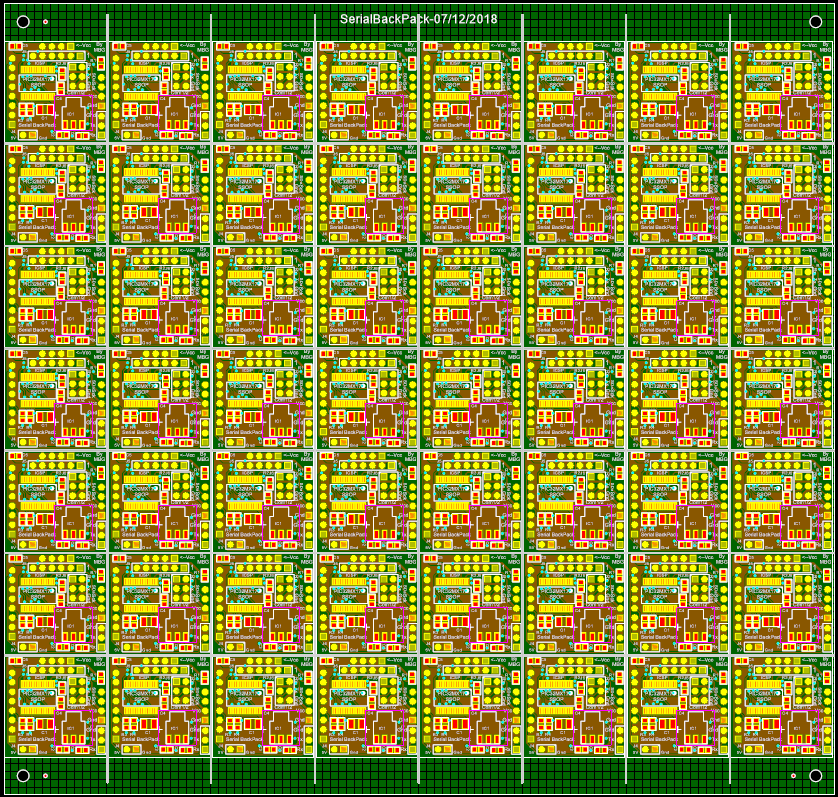 |
 |
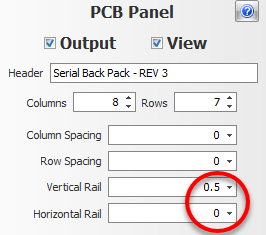
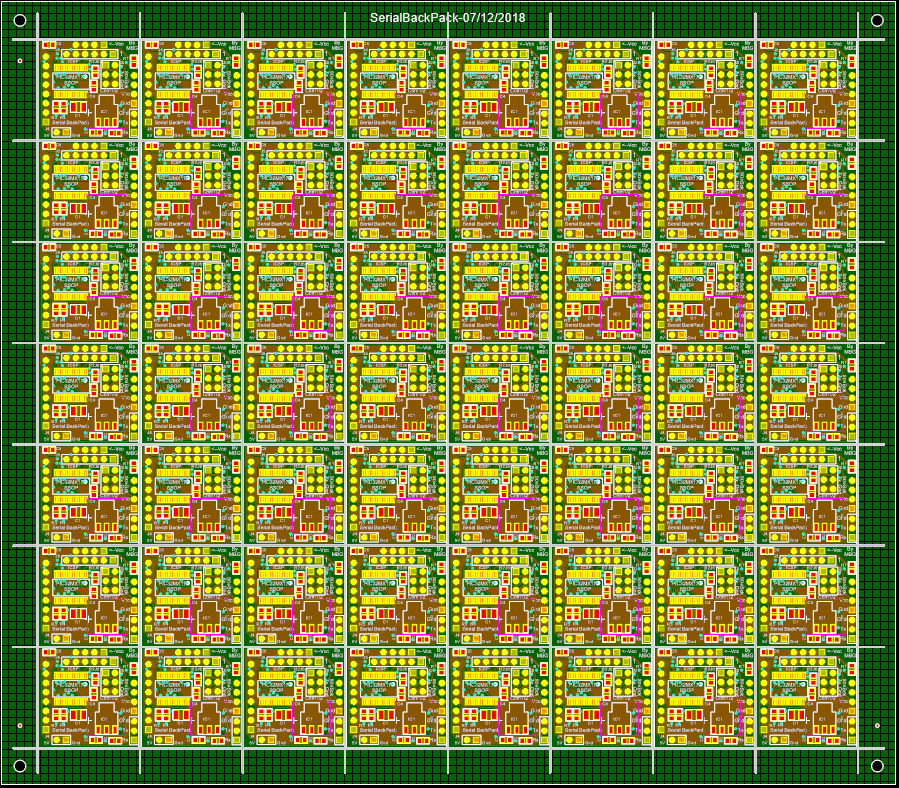
Left and Right Assembly Rails
 |
 |
Assembly Rails on all 4 Sides
 |
 |