You can add text notes.
To set the Fill Styles, Line Styles and Font Style before adding notes use the Default Graphics Settings
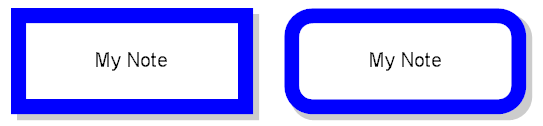
Notes and rounded notes
To add a note to a graphical sheet click on one of the  buttons in the Add→Shapes ribbon menu button group.
 Adds a rectangular note.
 Adds a Rounded rectangular note.
You will be prompted for the text.
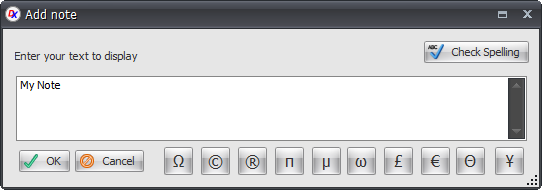
Enter the text and click the  button
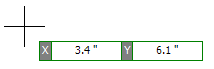
Move the mouse inside a graphical sheet's viewport. You will see the point cross follow the mouse. Left-click when the point cross is where you want to place the note or press the Enter key followed by the X value, Enter/Space/Tab key, the Y value, and Enter/Space/Tab again to exactly set placement point.
Now as you move the mouse the note will change in size and aspect ratio.
If you hold down the Shift key as you move the mouse, the note will be centered at the first point.
If you hold down the CTRL key as you move the mouse, the note will be square with the width and the height the same.
If you hold down both the Shift and CTRL keys simultaneously as you move the mouse, the note will be centered at the first point and will be square with the width and the height being the same.
Alternately, you can add a note image with a simple click, hold, and drag. When the point cross is where you want to start the note, left-click and hold the left button. While holding the left button drag to re-size the note and release the button; the note will be placed. In this mode, if you hit Enter before releasing the left button, you will be able to enter exact X and Y numerical values for the width and heights respectively. Note, using the Shift and CTRL keys as described above also works with this alternate method.
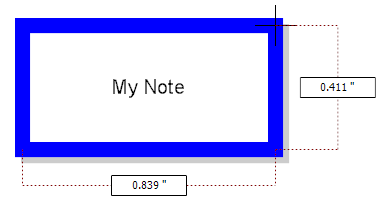
Dragging the mouse defines the rectangles size